

Project #1: Kandinsky
This one is by far my favorite! The kids loved every moment of this lesson today! Earlier this week I had the opportunity to watch a wonderful art teacher teach a lesson on Kandinsky's Farbstudie Quadrate. She played lovely music and had the kids paint circles. She had extra materials so I was able to participate and make my own painting. Check out my painting on the left! I love it so much I plan on framing it!
This inspired me to use the same techniques to create a Valentine version with my own class today! You can see my demonstration picture for the kids on the right. I played my Mozart Pandora station and painted with my class today.


Materials:
- white construction paper
- oil pastels
- water colors
- painters tape
- Tape the edges of white construction paper with painters tape. This creates the nice white border when you're done.
- Using oil pastels, start with a small heart in the middle of the page. I prompted the kids to draw a question mark shape, then draw a backward one on the other side. This seemed to help kids who didn't know how to make hearts.

- Then create larger hearts around it, keeping space between some of the heart outlines (this leaves space to paint with water colors later).
- Leave space around the outside to create a nice background.
- Paint with water colors in the white spaces and over the top of the oil painted sections. The layers of color make a wonderful effect!
- Leave the painters tape on until the papers are completely dry or it will rip the page.

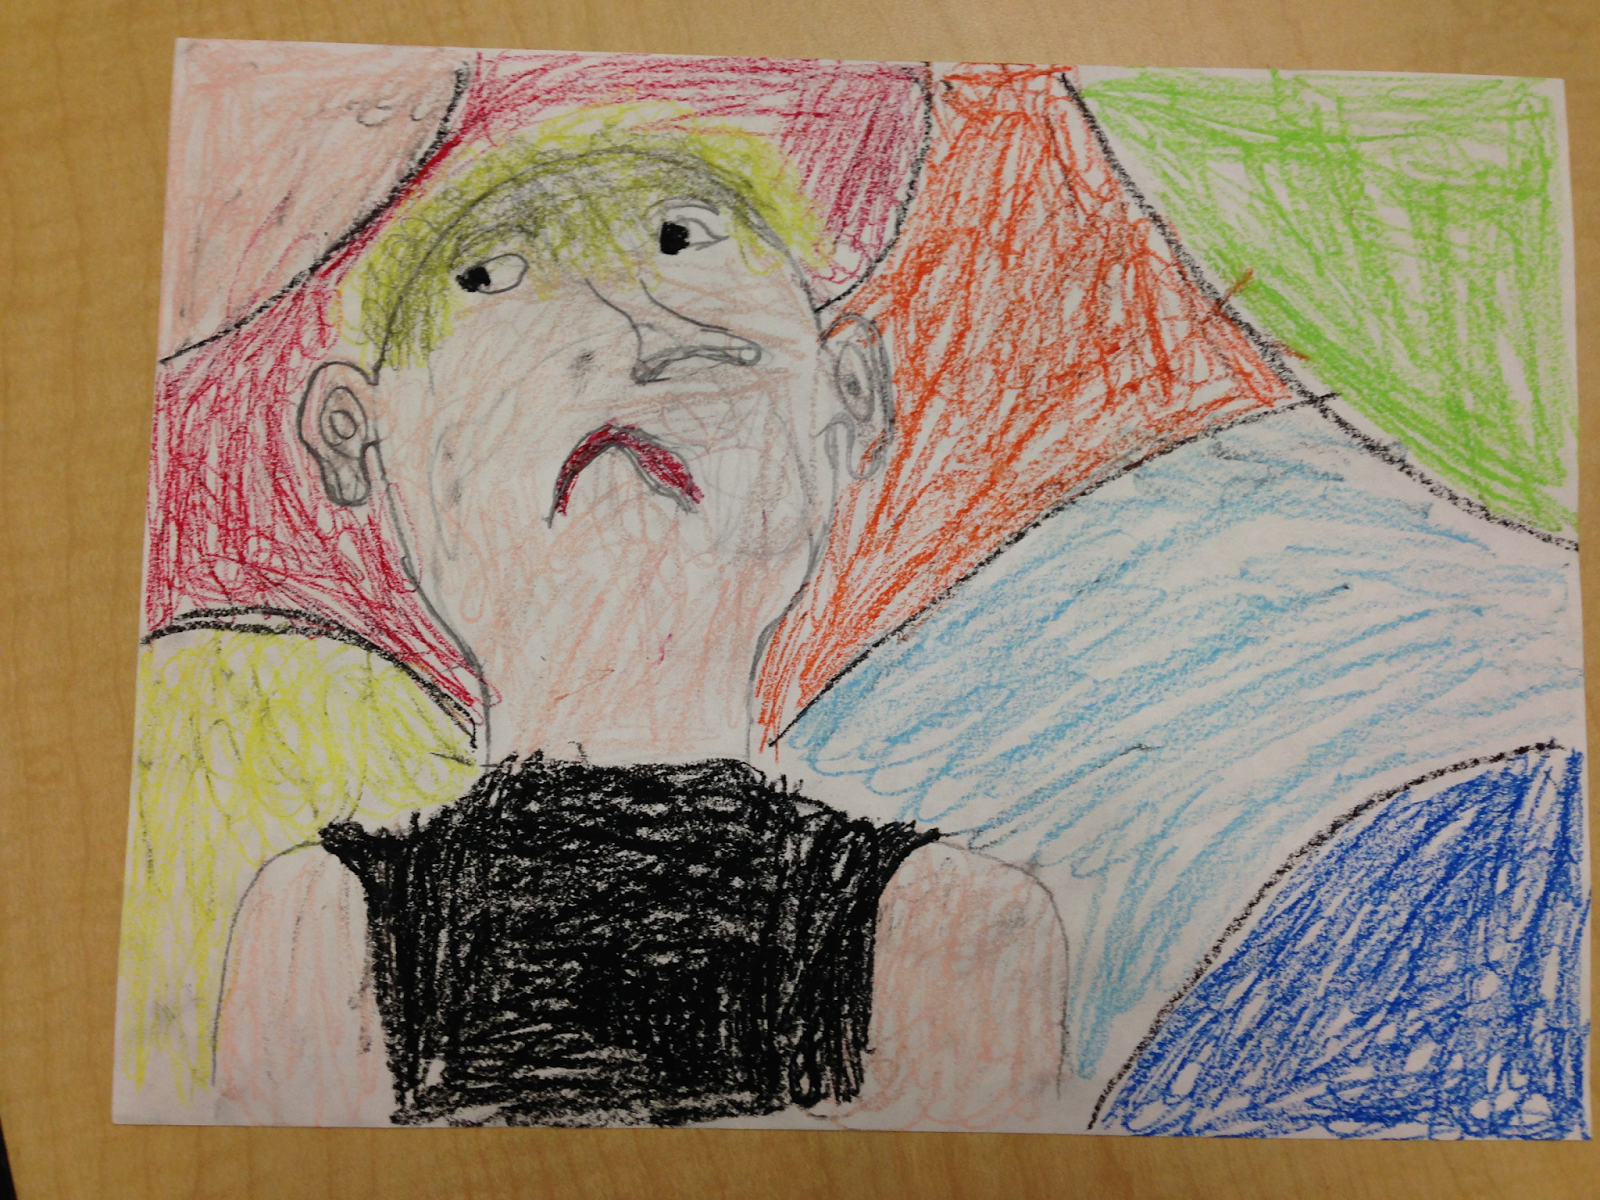
Project #2: Picasso
Please forgive my lack of artistic ability on this one. I drew it in approximately 2 minutes to demonstrate for my class!! The kids thought this was the coolest, most fun project ever! I have a whole class of wild and silly boys, so this was right up their alley!

- iPad or computer with photobooth application
- White construction paper
- Oil pastels or crayons
How To:
- Open Photobooth on iPad and take a self-portrait using one of the three photo styles on the right side of the screen such as swirl. This helps kids see what they would look like with their facial features in the wrong places.
- Use a pencil to draw the outline of the head and facial features.
- Use oil pastels to color and add in details.
- Color a bright, colorful background behind the head!


No comments:
Post a Comment
Super Comments Get Super Responses! I love chatting with my followers!